>>> See More Can I connect multiple sets of smart LED strip lights together for a larger installation?
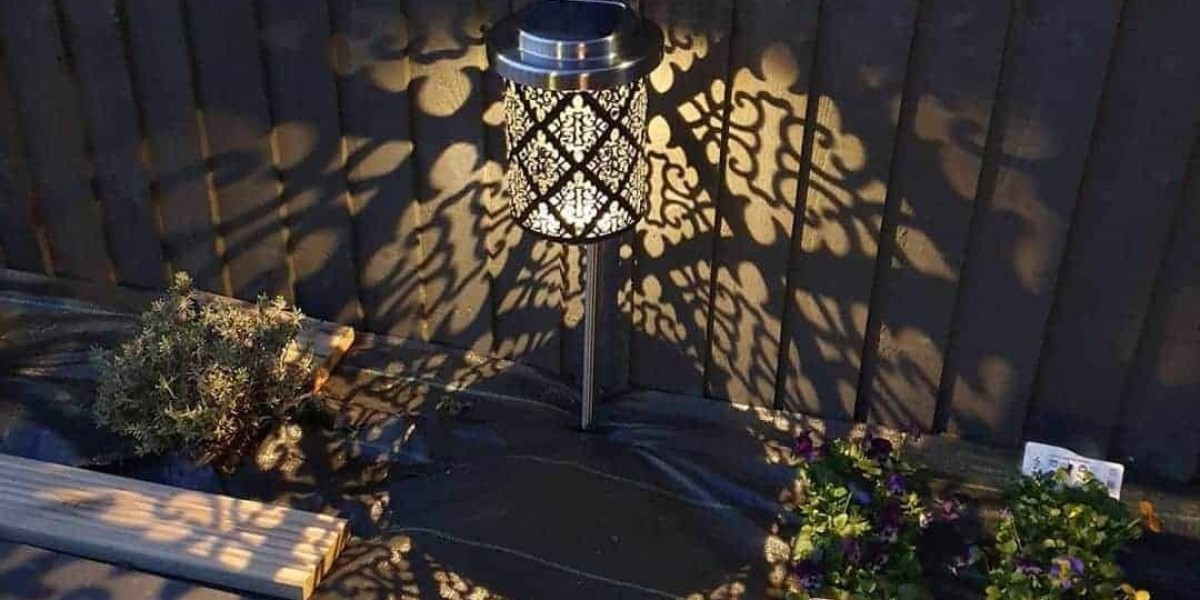
Common Telltale Signs Your Solar Light Batteries Need Replacing
Illumination Not Returning to Normal After Charging
The most obvious way to test if your solar light batteries are working is by placing the solar lights under sunlight for at least four hours. It would be best if you positioned your solar lights in direct sunlight to charge the batteries effectively. After charging the batteries, check if the illumination has returned to normal.
If your solar light’s illumination goes back to normal, then there are no issues with the batteries. It just means that your solar panels weren’t receiving adequate sunlight to replenish the batteries. But if the illumination remains unchanged even after charging, your solar batteries need to be replaced.
Batteries Not Working in Other Solar Lights
The other easy way to test your solar light batteries is to install them in other working solar lights. If you’ve got another functional solar light in your home, try installing your old batteries in it and see if it’s lighting up. Be sure to charge your old batteries before testing.
If the other solar light illuminates with the old batteries, it means the batteries aren’t faulty. But if your charged old batteries fail to power up your other solar light, then the batteries are worn out and no longer hold energy. As such, replacing the worn-out batteries with a new set is an idea you might want to consider.
How to Replace Solar Light Batteries: A Step By Step Guide
>>> See More What Does A Smart Light Switch Do?
Step 1: Place your solar light in a clean and dry place
You must exercise caution not to expose your solar light to any water or dirt as it could affect its performance.
Before opening up the solar lighting system, take it to a clean, dry space. You can even bring it indoors to ensure no external elements come in contact with it.
Step 2: Turn off the lights and open the battery casing
In most solar garden lights, the solar panel and battery are located on the upper part of the light housing, just a few inches above the bulb. Some models have no screws with them. For that reason, no tools are required.
You simply twist the light housing’s top section anti-clockwise, and it pops out. To be extra safe, make sure to turn off the lights before opening the housing or touching the battery.
Step 3: Examine your solar light battery
After opening the battery cover, take a moment to examine the battery type your solar light has. The information on your old solar light battery can help you determine the battery size and capacity to install.
For example, your solar lighting system could be using a NiCad (Nickel Cadmium) AA 1.2V 300mAh battery. Solar garden lights can use either AA NiCad 1.2V/500 to 900mA or AA NiMH (Nickel Metal Hydride) 1.2V/1000 to 200mA.
Step 4: Remove the old battery and install a new one
By all means, your new solar light battery should have the same specifications as the old one. But if it’s necessary, it might also be okay to install one with closely related specifications.
For example, suppose your solar light uses a Nickel Metal Hydride battery. In that case, you can make do with a Nickel Cadmium battery as they’re both ideal for solar lights and the environment.
Step 5: Turn on the solar light and test the new battery
Some new batteries come pre-charged, so after covering the battery with its casing, turn the light on to test. If your solar light doesn’t illuminate, the battery may be flat.
Therefore, place your solar light in direct sun exposure for 4-5 hours before testing again. The new battery should power up the solar light once fully charged.
Step 6: Dispose of used batteries
Throwing your depleted batteries in just about any bin you can find is a bad practice. If you do this, they may end up at a landfill site where the toxic cadmium may leak into the environment, causing pollution.
Rather than disposing of your used batteries recklessly, take them to your nearest recycling center. Alternatively, you can hand them over at your nearest electronic and hardware stores, like Home Depot and Best Buy. These stores have their battery recycling points.
>>> See More Decoding IP Ratings for LED Strip Lighting