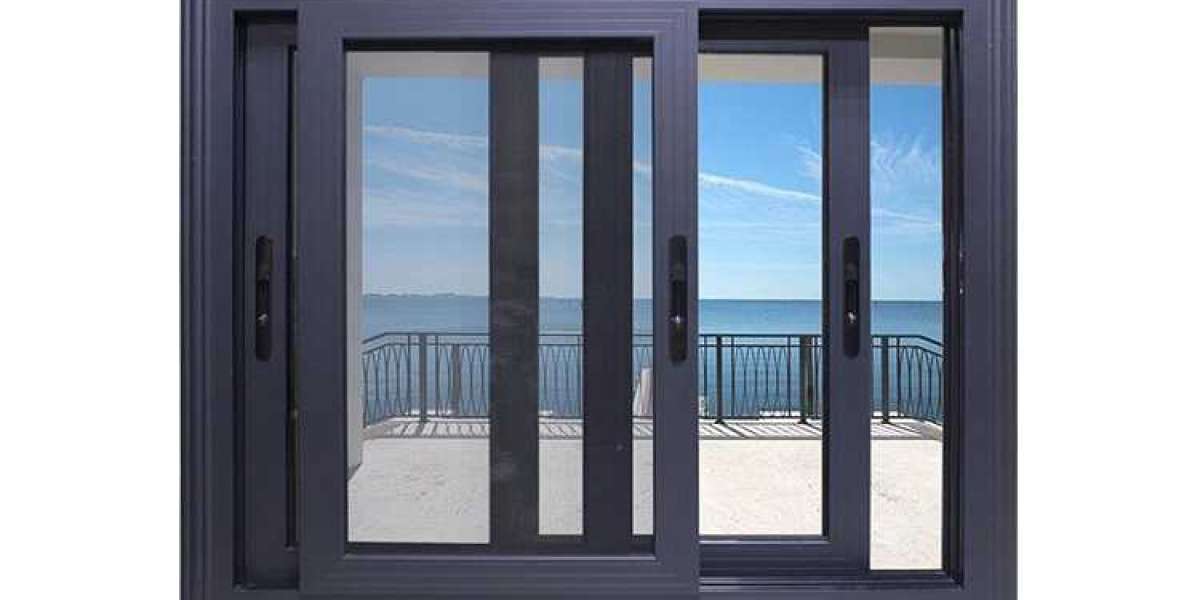
Aluminium sliding windows are a popular choice for quick and effective ventilation and simple functionality.
What you’ll need to get started
Before you begin, make sure you’re wearing the right safety gear for the site you are working on, and the tools you are using.
There are many reasons a product may need adjusting:
The house may have settled over time.
The original installation may have been slightly out.
All of our operable windows have built-in adjustment allowance to accommodate this.
The tools you will need are:
A drill with Phillips head bit.
Phillips head screw driver.
Side cutters.
A rubber mallet.
A second pair of hands (depending on the size and weight of the product).
Before the adjustment.
To begin, visually inspect the product from the inside of the house, looking at the gaps between the sash and the frame at the bottom and on the sides. If the sash looks crooked in the opening, take note of which side needs to be raised or lowered to square it back up.
Adjusting your AL Boutique Awning Window.
Remove the sash, firstly making sure that the security block in the head of the frame is out of the way.
Hold the sash on both sides and lift it up into the head. At the same time, pull the bottom of the sash towards you until the whole sash can be removed. Turn the sash upside down so that the plastic guides are facing up.
There are three points on the guides to allow adjustment, a low, centre and high point.
Using the side cutters, carefully remove the sash guide by levering it off the rail. You may need to use a flat head screw driver to lift the guide enough to fit the side cutters in.
Rotate the sash guide into the new desired position and put it back into place on the sash.
Finishing your adjustment.
Turn the sash back up the right way and lift it back up into the head of the frame before lowering it down onto the track again.
Slide the sash back towards the closed position and re-inspect the gap between the sash and the frame. Repeat the process until you are happy with the operation.